You've just had your asphalt sealcoated, and it looks fantastic. That deep, dark finish really makes your property pop, doesn't it? But here's the thing: sealcoating isn't a one-and-done miracle. It's a protective layer, and like any protective layer, it needs a little love to do its job right and last as long as it should. I've seen too many folks in Canby treat their freshly sealed driveways like they're invincible, only to be disappointed when cracks start showing up sooner than expected.
Extending the Life of Your Sealcoat
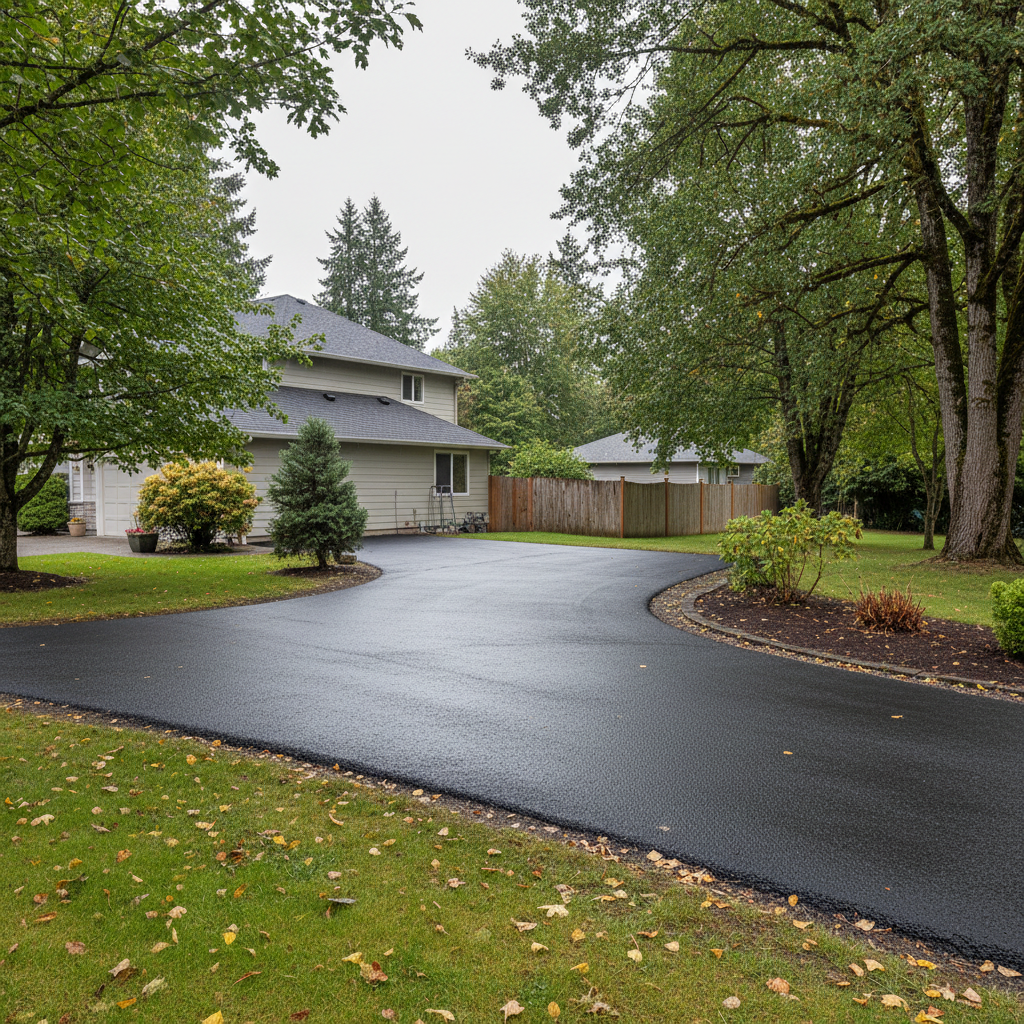
The first few days after sealcoating are critical. Think of it like a fresh coat of paint; you don't want to mess it up while it's curing. I always tell my customers a few key things to remember:
- Stay Off It: Give it at least 24-48 hours before you drive or even walk on it. If it's a cooler, shadier spot, or we've had some of that typical Oregon drizzle, give it even longer. Sometimes it needs 72 hours to fully cure, especially if it's been humid. Driving on it too soon can leave tire marks and compromise the seal.
- No Heavy Loads: For the first week, try to avoid parking heavy vehicles or equipment on your newly sealed surface. That includes RVs, trailers, or big work trucks. The weight can press into the still-soft sealcoat and leave permanent indentations or even scuff marks.
- Watch for Leaks: Oil, gas, and other automotive fluids are sealcoat killers. If you have an older car that tends to drip, try to park it elsewhere for a bit, or at least put down some cardboard. Clean up any spills immediately with a mild detergent and water, making sure not to scrub too hard.
Beyond those initial days, a lot of extending its life comes down to common sense and a bit of vigilance. We get a lot of rain here in Canby, especially through the fall and winter. Water is asphalt's enemy, so good drainage around your driveway is always a plus. If you've got standing water after a downpour, that's something to address.
Regular Maintenance: Your Asphalt's Best Friend
Once the sealcoat is fully cured, your routine maintenance is pretty straightforward. It's all about keeping the surface clean and addressing small issues before they become big ones.
- Keep it Clean: Sweep off dirt, leaves, and debris regularly. This prevents organic matter from breaking down on the surface and holding moisture. A leaf blower works wonders for this.
- Weed Control: Weeds and grass love to sprout through cracks. Pull them out as soon as you see them. If they get established, their roots can widen existing cracks and create new ones. A little weed killer can help, but be careful not to spray it directly on the sealcoat itself.
- Address Spills Quickly: Again, oil, gas, and chemicals are bad news. Clean them up promptly. Don't let them sit and soak in.
- Edge Care: If you have grass or dirt right up against your driveway, keep it trimmed back. Overgrown edges can trap moisture against the asphalt, leading to deterioration.
Think of it this way: a little effort now saves you a lot of money on repairs later. It's like changing the oil in your car; it just makes everything last longer.
Warning Signs You Shouldn't Ignore
Your asphalt will tell you when it needs attention. You just have to know what to look for. Don't wait until you've got a pothole the size of a dinner plate.
- Fading Color: If your sealcoat is starting to look gray or dull instead of that rich black, it's a sign that the protective layer is wearing thin. It's losing its UV resistance and becoming more vulnerable to the elements.
- Fine Hairline Cracks: These are often the first sign of trouble. They might look small, but water can get into them, freeze, expand, and turn them into bigger cracks. We see a lot of this during our colder Canby winters.
- Raveling: This is when the aggregate (the small stones) in the asphalt starts to come loose and you see tiny pebbles on the surface. It means the binder is failing, and the sealcoat might not be doing its job anymore.
- Potholes or Alligator Cracking: These are more serious issues. Alligator cracking looks like a series of interconnected cracks, resembling an alligator's skin. This indicates a deeper structural problem, often due to water penetration or a failing base layer. Potholes are just what they sound like – holes in the pavement.
Catching these early is key. A small crack can be filled relatively easily. A full-blown pothole means more extensive, and more expensive, repair work.
When to Call a Professional
So, when do you pick up the phone and call someone like Mighty Asphalt Co? Generally, if you see any of the more serious warning signs I just mentioned, it's time.
- Extensive Cracking: If you've got cracks wider than about a quarter-inch, or a lot of hairline cracks spreading across a large area, you need professional crack filling. DIY crack fillers are okay for very minor stuff, but they won't hold up to our weather long-term for bigger problems.
- Potholes: Don't try to patch a pothole yourself with a bag of cold patch and hope for the best. It's a temporary fix at best. A professional can properly cut out the damaged area, prepare the base, and apply hot asphalt for a durable repair.
- Raveling or Significant Surface Deterioration: If the surface is truly breaking down, it might be time for a fresh sealcoat or even some patching before a new sealcoat. A pro can assess the condition and recommend the right solution.
- Every 2-3 Years for Resealing: Even without major issues, I generally recommend resealing your asphalt every two to three years. This schedule helps maintain that protective barrier and keeps your driveway looking its best. The exact timing depends on traffic, sun exposure, and how well you've kept up with maintenance.
Don't hesitate to reach out if you're unsure. A quick inspection from a local expert can save you a lot of headaches and money down the road. We're always happy to take a look and give you an honest assessment of what your asphalt needs.